Publishing Photos on Roaming the Ocean.com
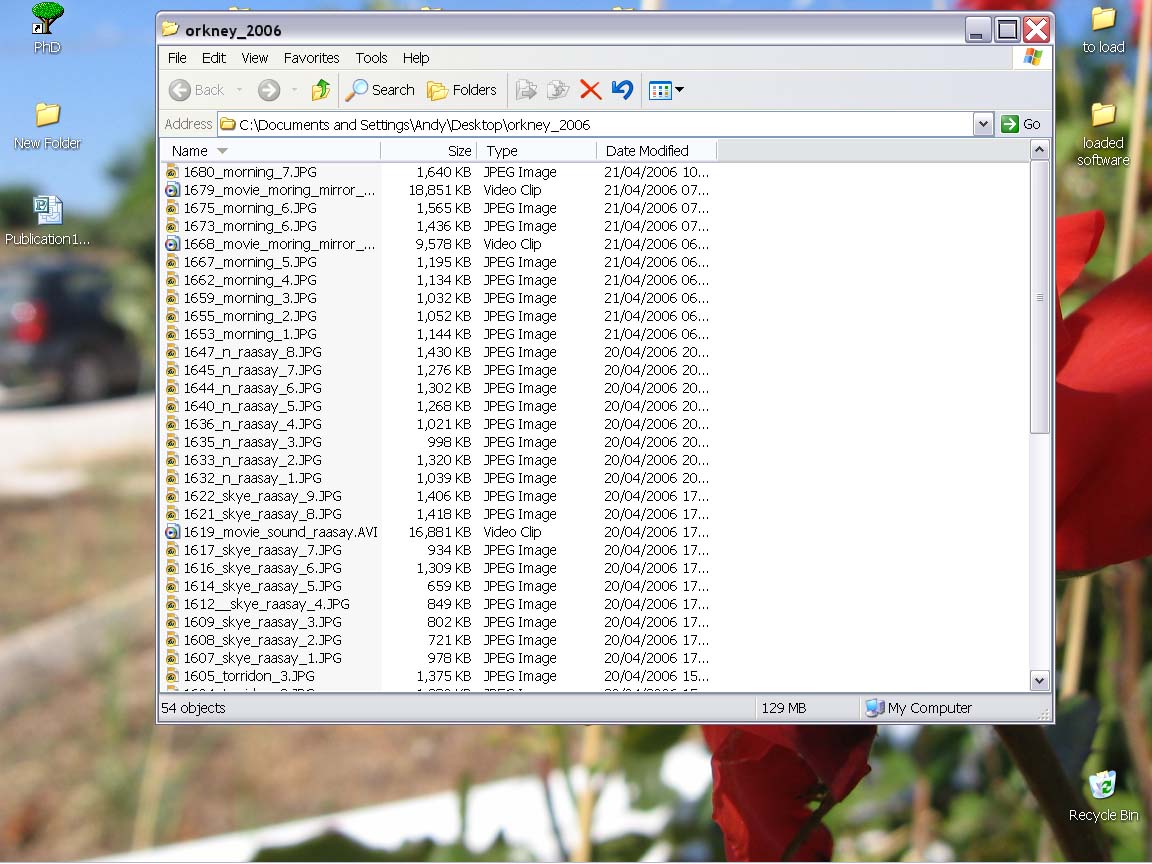
A. Select the Photos
- select the photos you want
- put them in a new folder on the desktop and name it temp for simplicity
- rename the photos so as they have meaningful names!
B. Resizing the Photos
- open Photoshop CS
- goto File > Automate > Web Photo Gallery
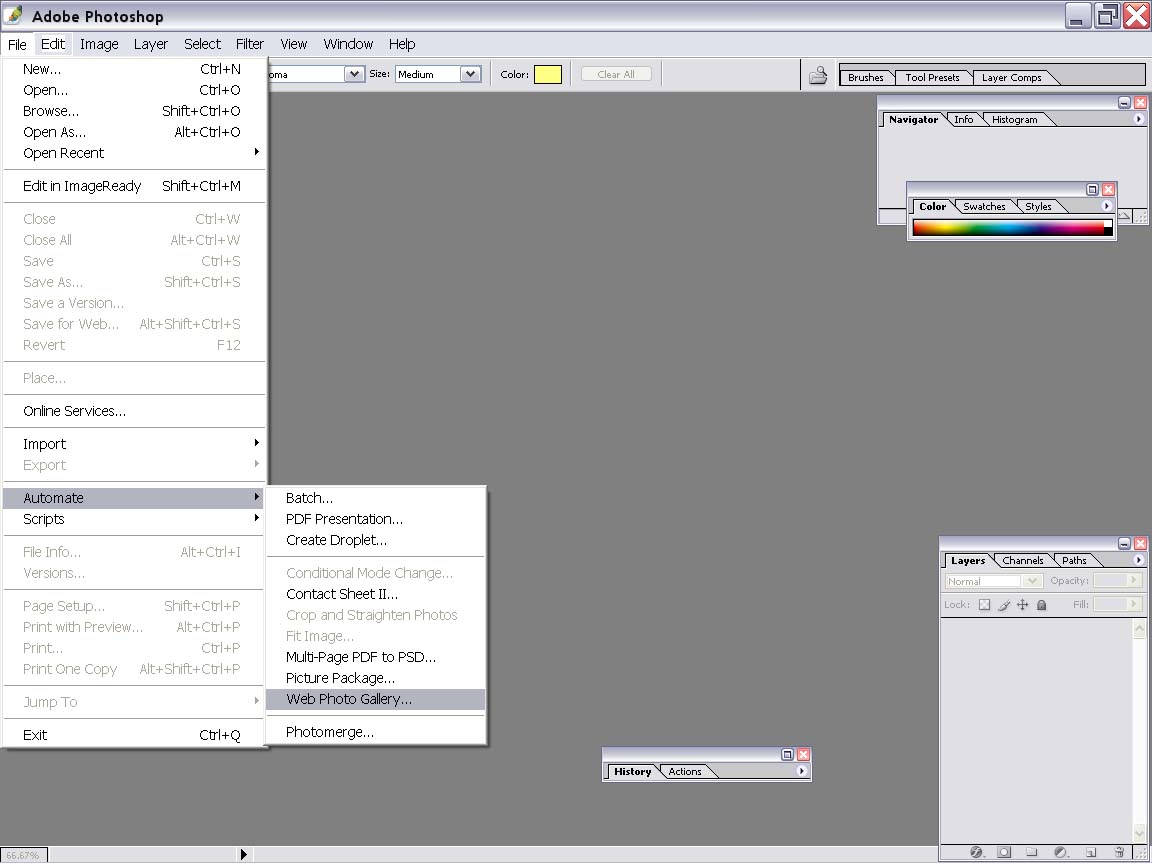
- for the 'source images' select Use > Folders option
- select the folder 'temp '
- click 'destination' and make a new folder on the desktop with the name 'intermediate
step' or somesuch
- settings should be like:

- it should wizz through a macro...
- now go back to the desktop and look in the folder 'intermediate step >
images', there are the RESIZEd images -- ready for the web (hehehe)
- create a new floder on the desktop 'photo_album_1' say(the name you want
for your album remembering to use only alphanumeric characters / no spaces
/ etc. )
- move the all files in 'intermediate step > images' EXCEPT
the 'home.gif', 'next.gif' and 'previous.gif'
- delete the 'temp' and intermediate step' folders from the desktop
- (if you've looked at the photos in their final folder then you'll need to
delete the 'thumbs' file now ;-)
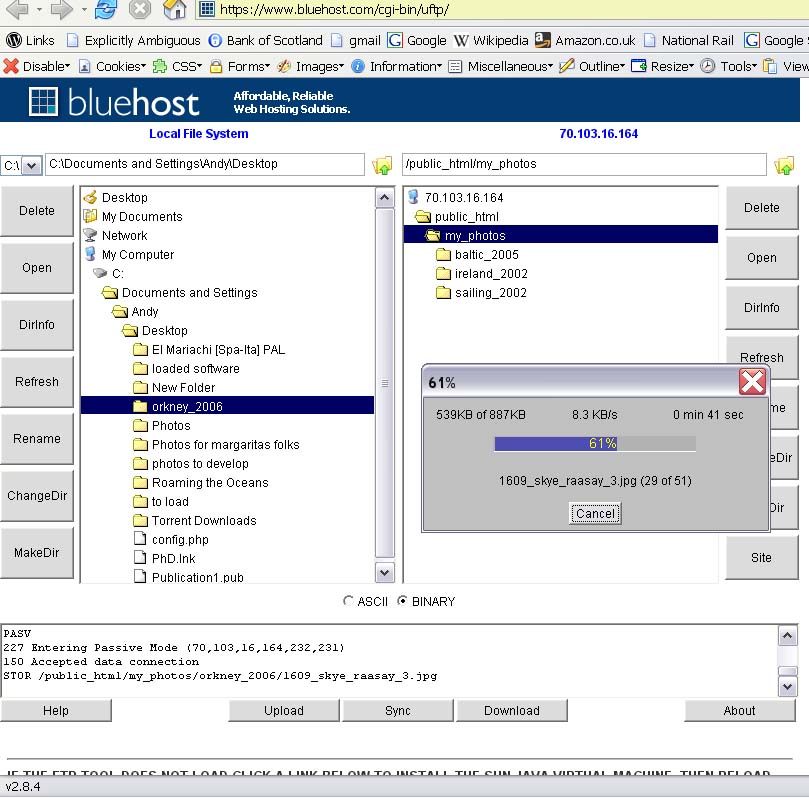
C. Uploading
- login to the control pannel for the server 'www.roamingtheoceans.com/cpanel'
- click on 'FTP Manager'
- click 'unlimited FTP'
- find 'photo_album_1' on the desktop (double click 'desktop on the left-hand-side...)
- on the right-hand-side, double click to get to '/public_html/my_photos/'
- now CAREFULLY drag and drop 'photo_album_1' into '/public_html/my_photos/'
- wait for 1 min --> 1 hour :-P
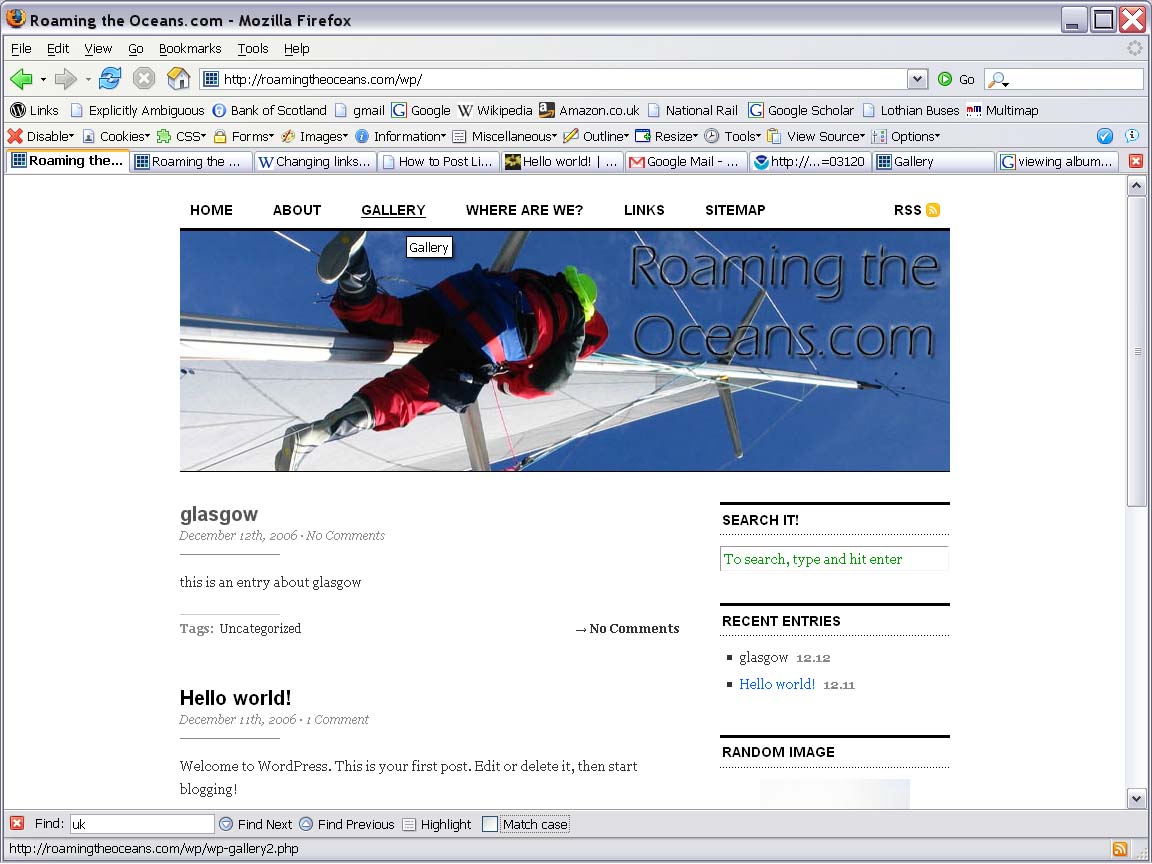
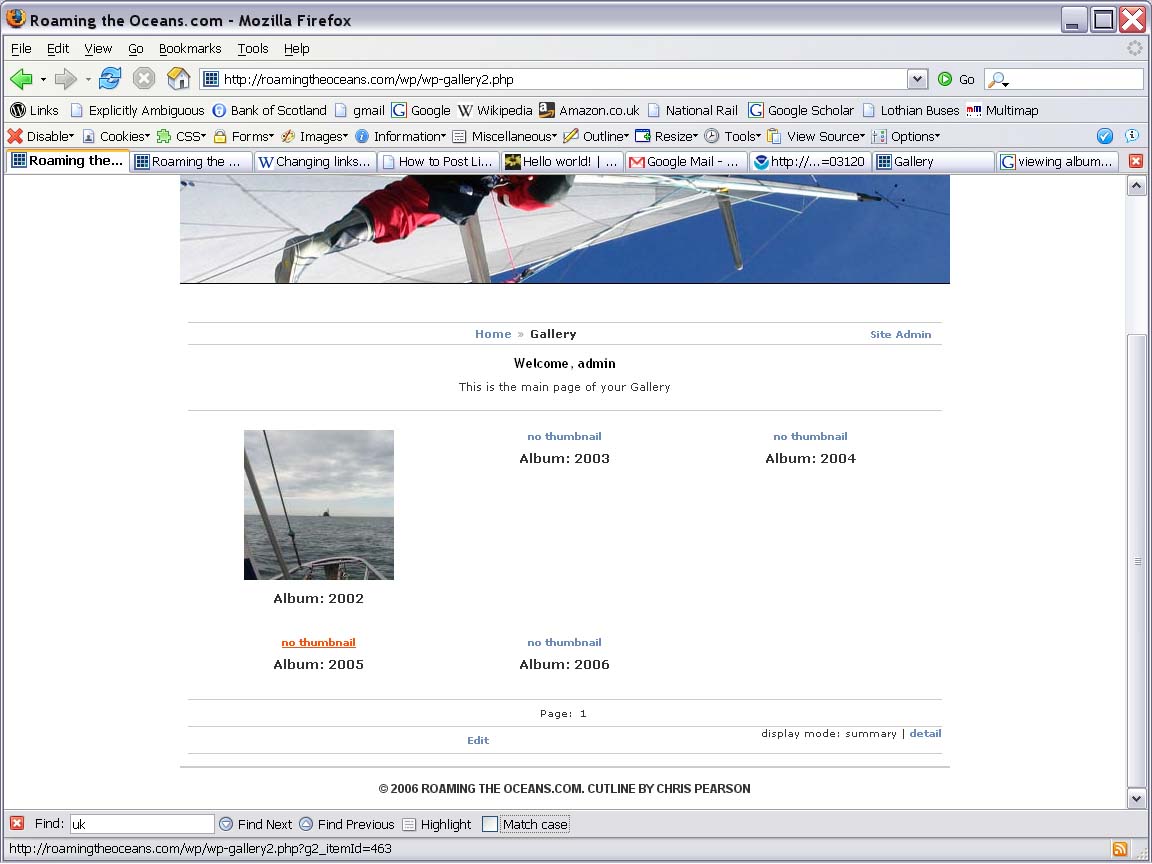
D. Importing into the Gallery
- goto www.roamingtheoceans.com/wp/gallery (whilst logged in)
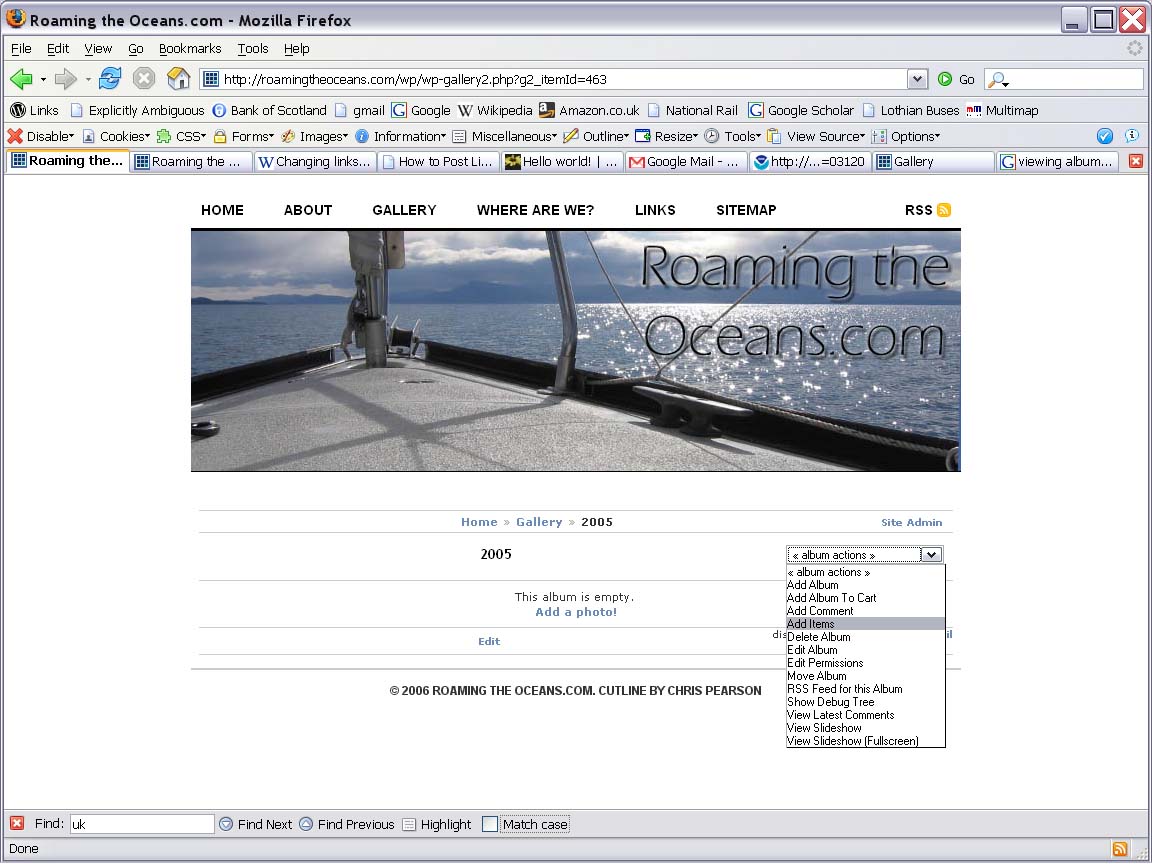
- click on an album to add to e.g. '2005'
- under <<album actions>> combo menu -- select 'add items'
- click on the 'From Local Server' tab
- click on the '/home/roamingt/public_html/my_photos/' link and hit 'Find
Files' at the bottom of the page

- from the folders you see there select the one you want to add on the left-hand-side
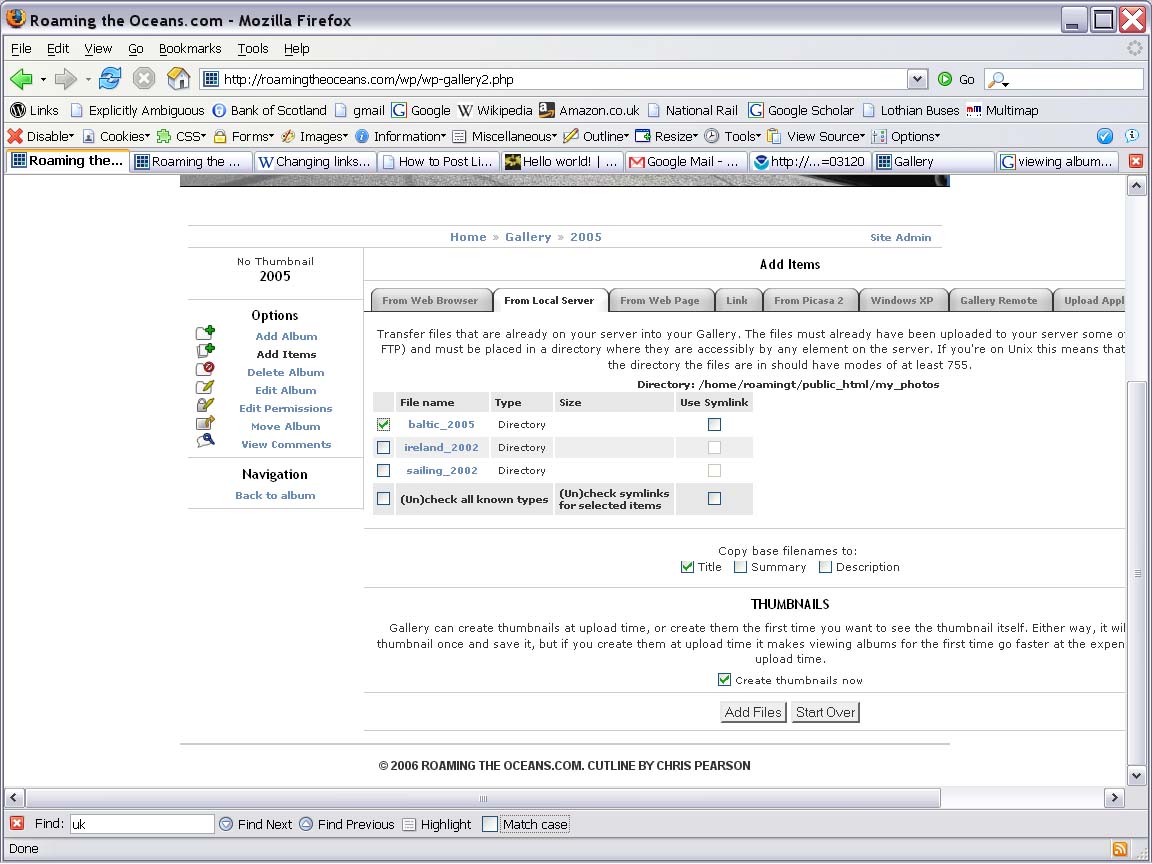
- click the 'add files' button at the bottom
- you're done! (& don't worry if it says it has added 0 files it's a bug)
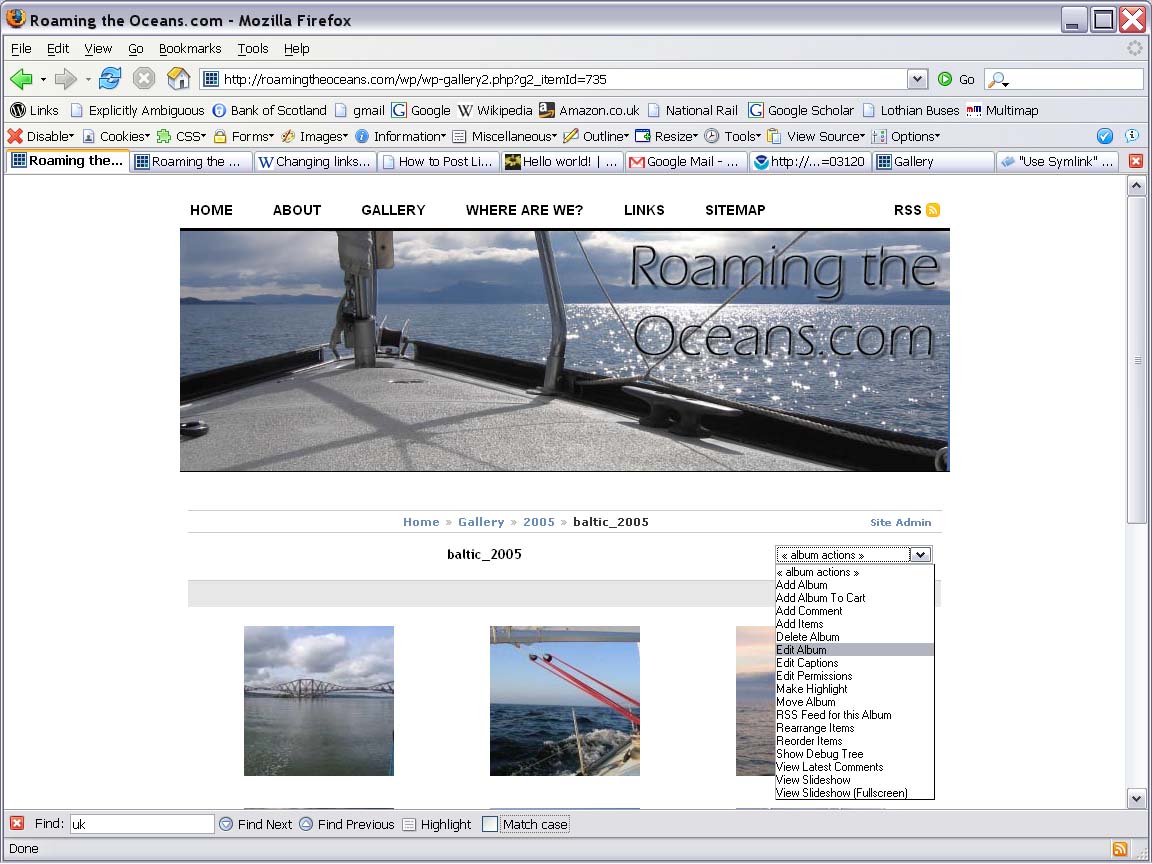
E. Editing the Albums
- go again to 'www.roamingtheoceans.com/wp/gallery' and see if it worked OK
(perhaps you willl need to clear the cache)
- click on the album you just added, under <<album actions>> combo
menu -- select 'edit album'
- select the 'general' tab
- you are free now to give the album a new name, enter keywords, etc.
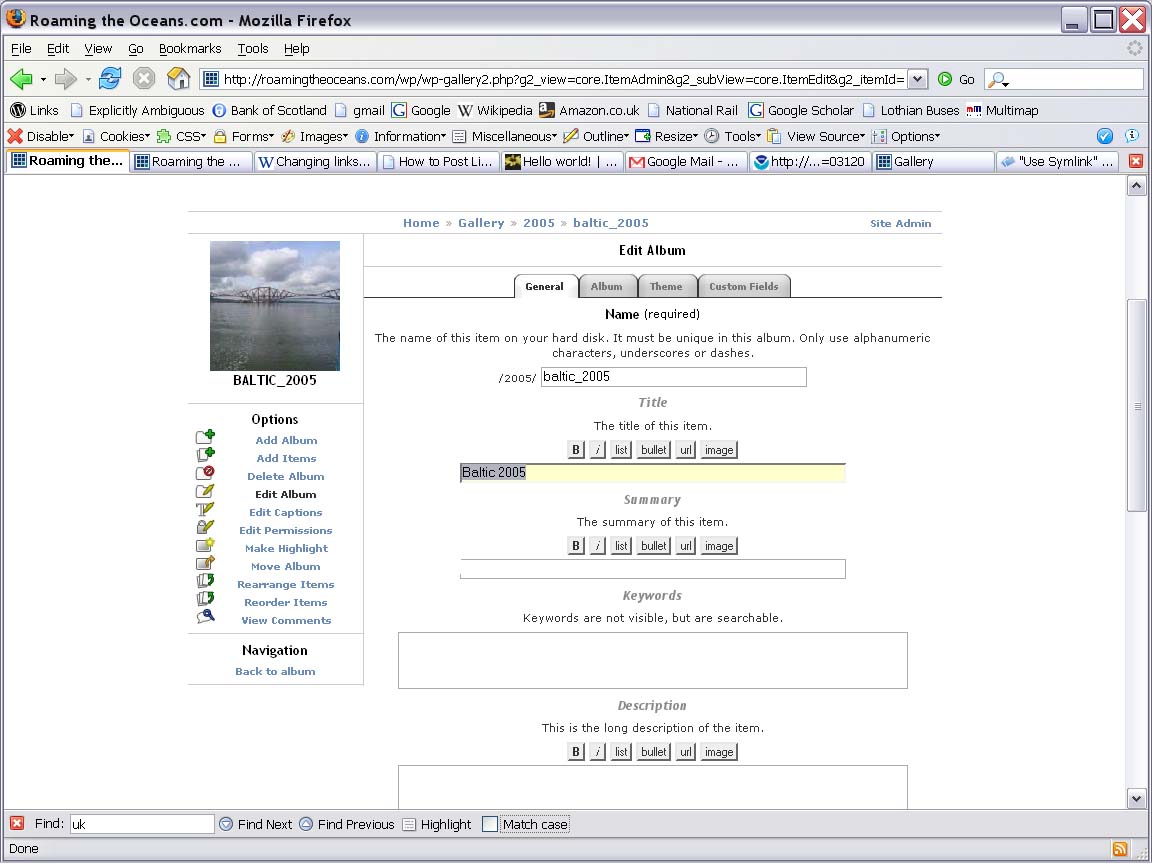
- click the 'save' button at the bottom of the page ;-)
- Tell me so as I can see the pics too!